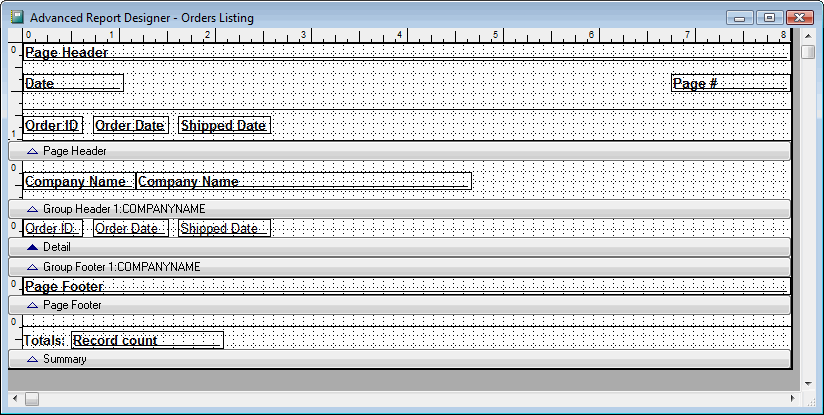
Let's create an advanced layout for the Inventory report we created in Lesson 1 of the tutorial. We want to make the group header smaller by putting several fields on the same row, and add a company logo. First, click this report in the Reports Explorer and choose Edit. Go to Step 5, then turn on the Advanced Layout setting and click Edit. The Advanced Report Designer appears as shown below.

Let's start by moving some of the fields in the group header onto the same row. Click the right edge of the Item # field and size it a little smaller. Then select the Description field and move it up to the right of Item #. Delete the Description heading field. Move the Class heading and Class fields up so they are right below the Item # field. Move the Unit Price heading and field up to the right of Standard Cost, then select the Standard Cost heading and field and Unit Price heading and field and move them up right below Class. Select the grey box in the group header band and resize it so it's only as tall as necessary. Drag the group header band's bar so it's just below the grey box. The report should now look like this:

Let's add a logo to the report. To make room for the logo, click the grey bar for the Page Header band and drag it down. Select all the objects in that band by holding down the Shift key and double-clicking in the grey bar, then click one of them and drag down. Click the Picture button () in the Report Controls toolbar, then click near the upper left corner of the Page Header band and drag to the right down to about 1.5 inches deep. When the Report Picture dialog appears, click the button beside the text box for Image source and choose an image file. Choose the Scale Picture, Retain Shape option and choose OK. You can then rearrange the other objects in the Page Header band around the logo as desired.

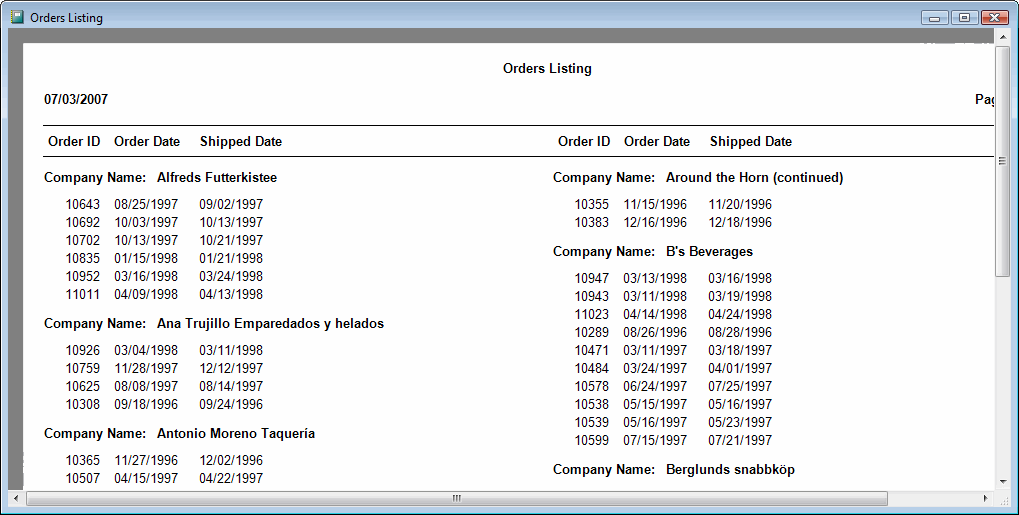
Preview the report. Here's the finished product:

© Stonefield Software Inc., 2025 • Updated: 08/29/18
Comment or report problem with topic
 Examples